Mixing metallic epoxy correctly starts with the resin-to-hardener ratio specified by your product, typically 2:1 or 3:1 by volume. The mixture must be combined in a clean container, stirred for a full 3 minutes with a low-speed drill and mixing paddle, and then poured promptly before the pot life expires.
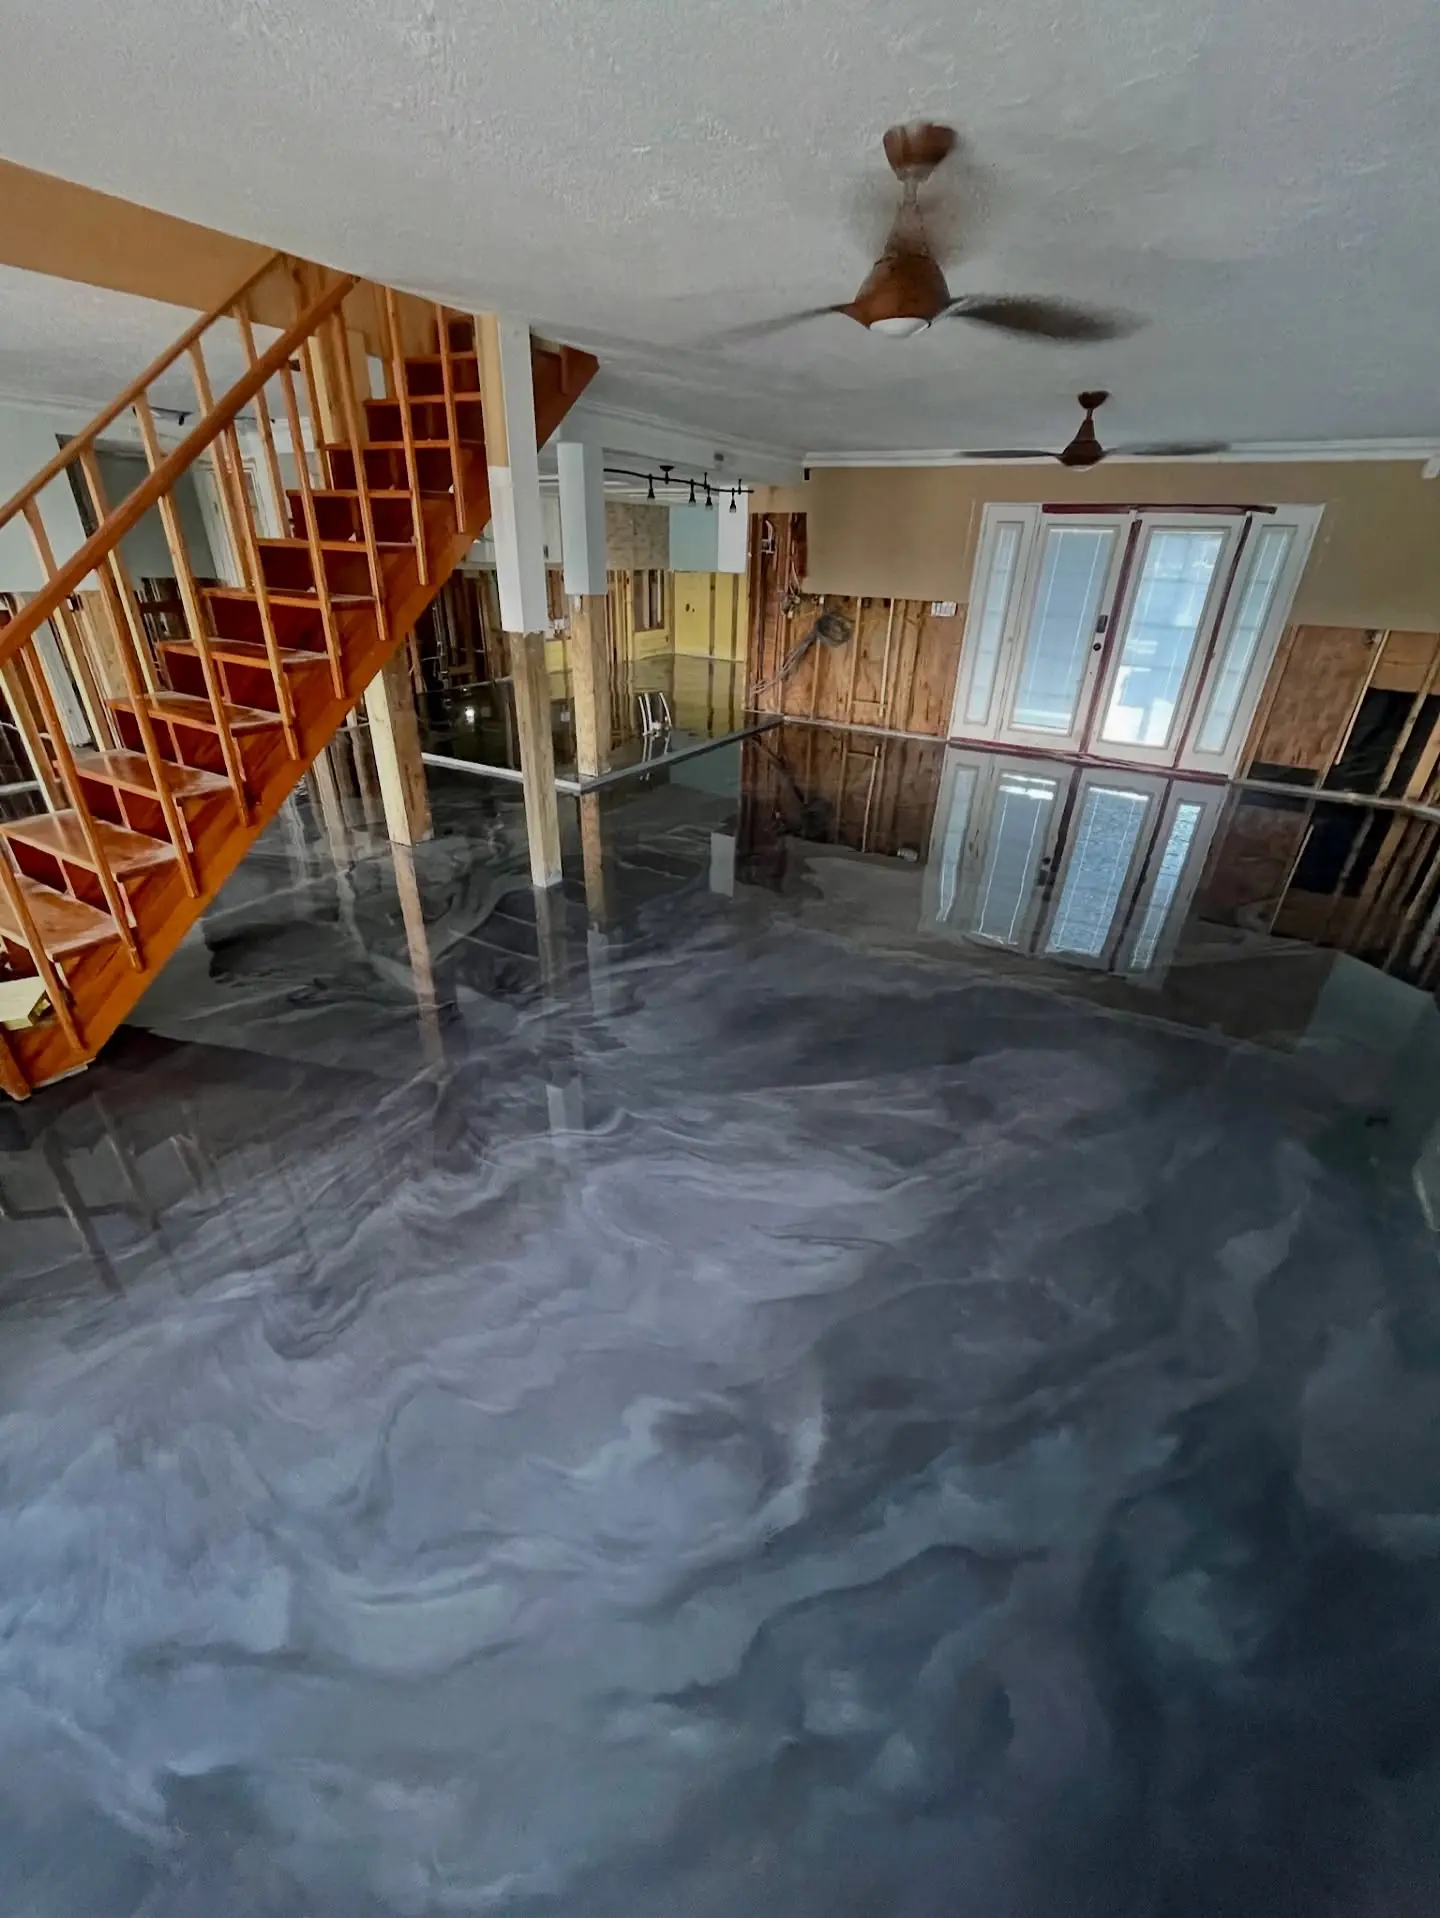
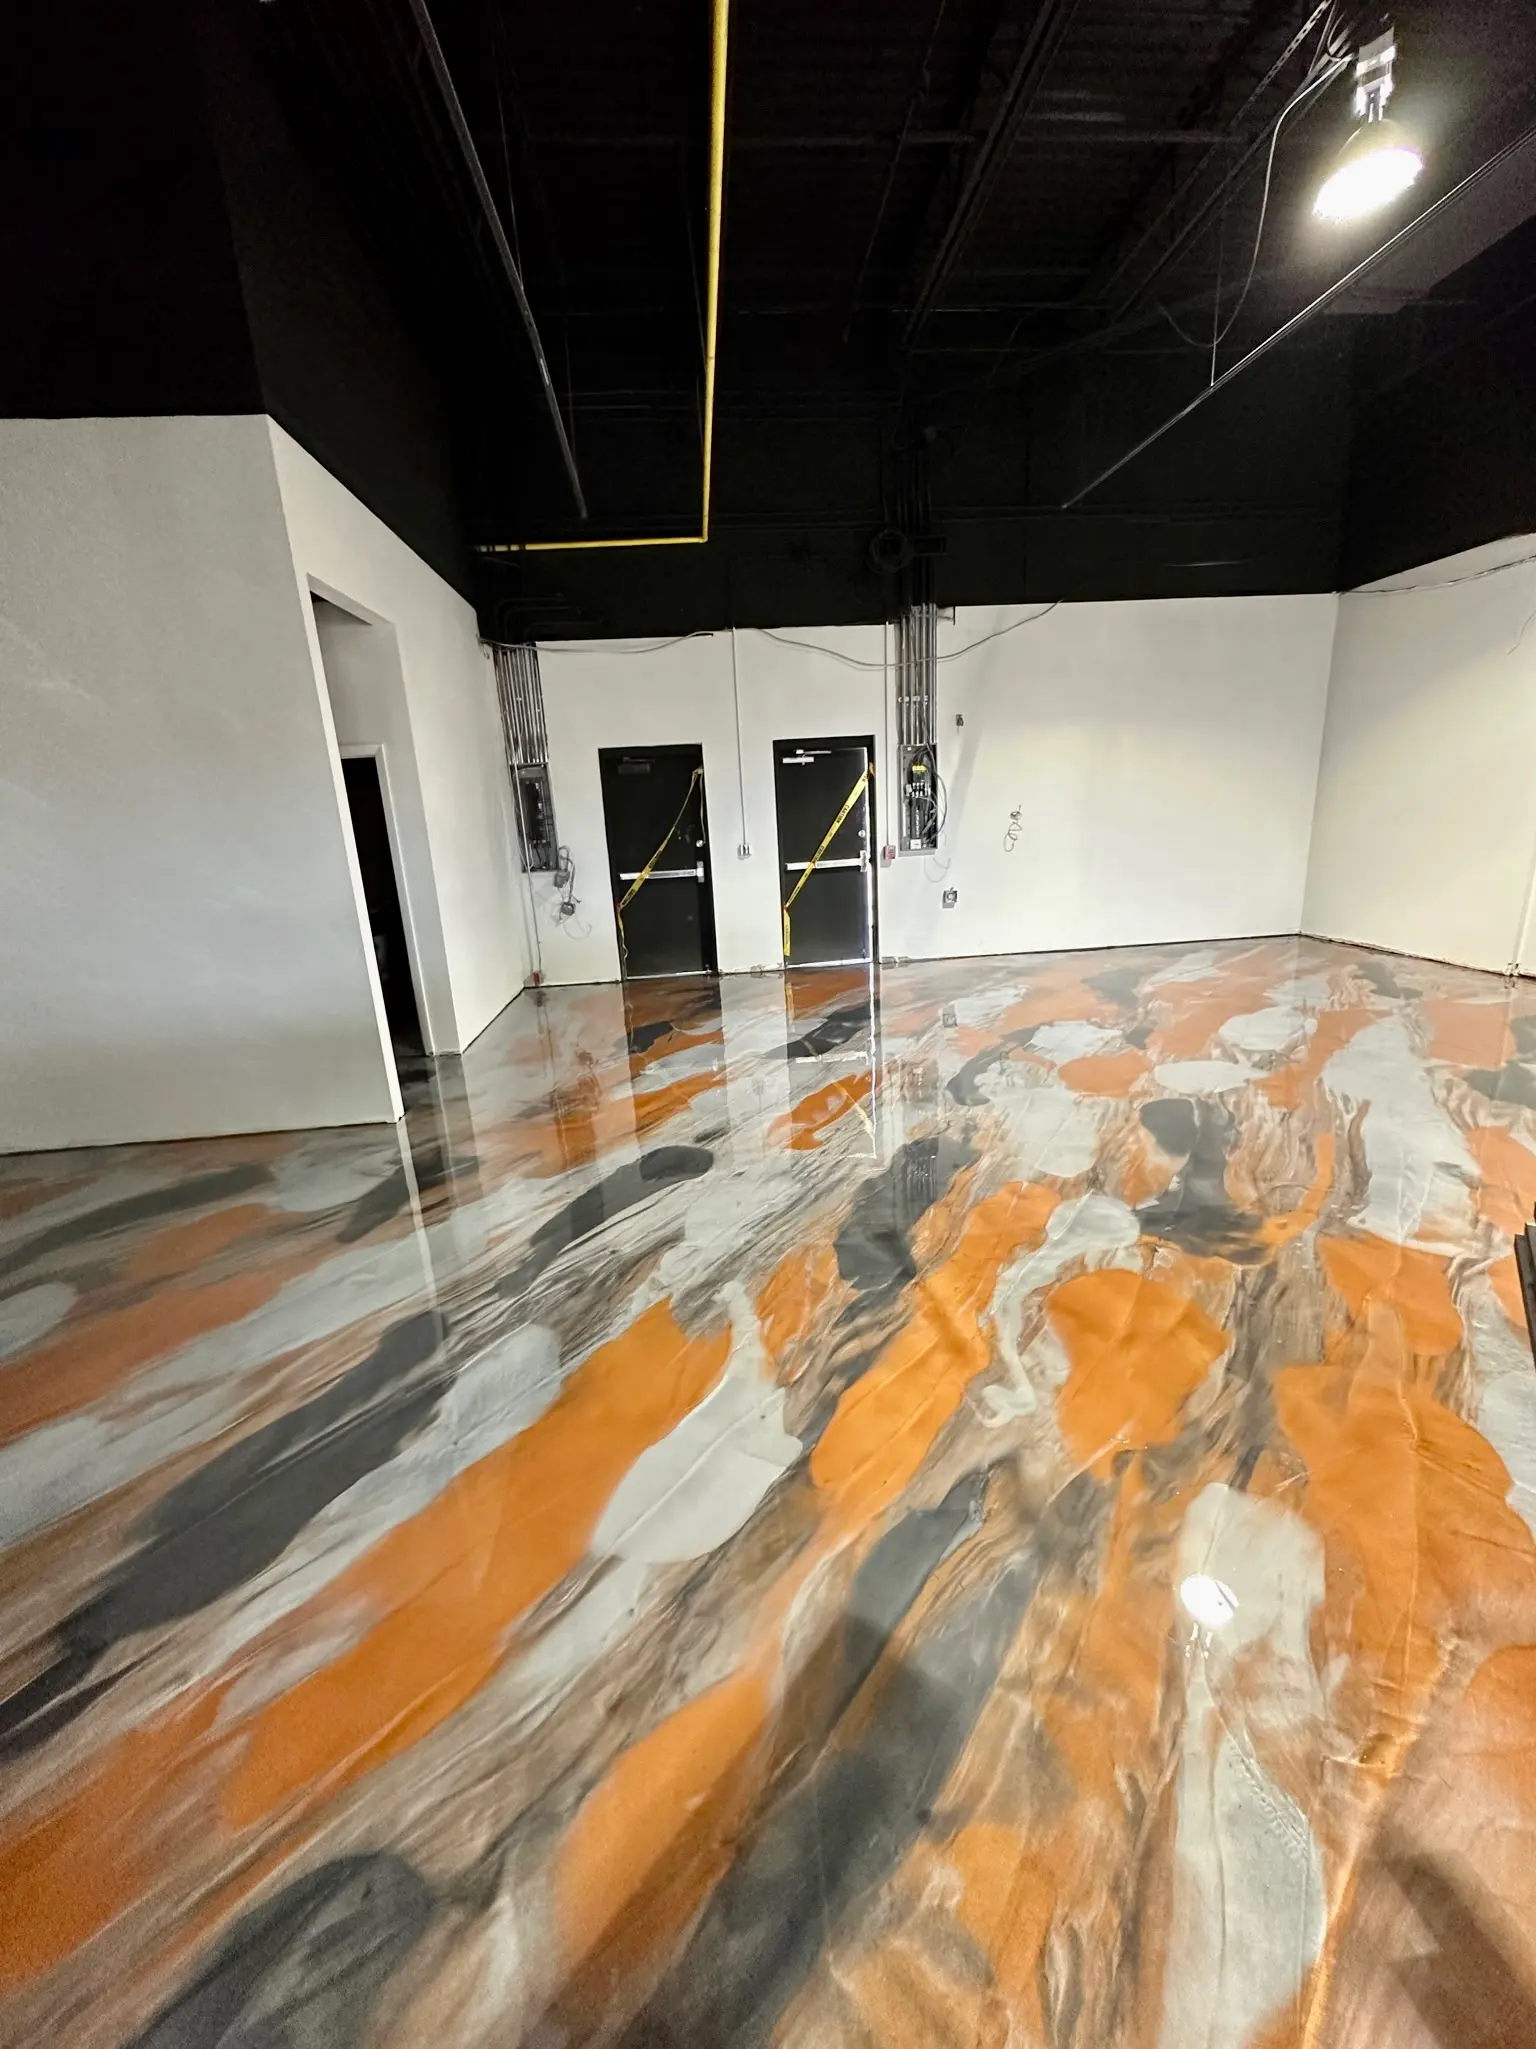
After installing metallic epoxy in Florida homes and commercial spaces for years, there’s one thing we’ve learned to say upfront: the most common reason a metallic epoxy floor looks muddy, patchy, or flat instead of luminous and three-dimensional isn’t the design technique. It’s the mix. Specifically, it’s an incomplete mix, where the resin and hardener aren’t fully combined, or a rush job that skips the second mix step that actually matters.
The Resin-to-Hardener Ratio: No Guessing

Every metallic epoxy product has a specific mix ratio: typically 2:1 or 3:1 resin to hardener by volume. This ratio isn’t a guideline. It’s a chemical requirement. Too much hardener causes the epoxy to cure too fast, reducing working time and potentially causing heat-related issues (called exothermic reaction) in the mixed container. Too little hardener produces a floor that stays tacky, never fully cures, or develops soft spots.
Before mixing anything, verify the ratio on your specific product’s technical data sheet. Consumer-grade kits and professional-grade systems don’t all share the same ratio. Mixing a professional product using a consumer-grade assumption is a reliable way to ruin a floor.
For a 400-square-foot application at typical metallic epoxy coverage rates (roughly 100 to 150 square feet per mixed gallon depending on the system), you’ll typically be working in batches of 1.5 to 2 gallons at a time to stay within the product’s pot life, the window of time the mixed epoxy remains workable before it begins to gel.
How To Mix Metallic Epoxy Step by Step
Proper mixing takes longer than most people expect and involves two containers, not one.
Step 1: Pre-Stir Each Component Separately
Before combining resin and hardener, stir each component individually in its own container. Metallic pigments settle in the resin over time — any pigment that’s sitting at the bottom stays there unless you mix it up before combining.
Step 2: Combine In a Clean, Dry Bucket
Pour the hardener into the resin (or follow the product’s specified pour order—some systems specify the reverse). Use a correctly sized container (mixed epoxy generates heat as it cures), and a container that’s too small concentrates that heat, shortening your working time.
Step 3: Mix With A Low-Speed Drill And Paddle
Use a jiffy-style mixing paddle attached to a drill running at 300 to 400 RPM. High-speed mixing introduces air bubbles into the epoxy, which show up as pinholes in the finished surface. Mix continuously for 3 full minutes, scraping the sides and bottom of the bucket throughout. Undermixing is far more common than overmixing. If you’re uncertain, mix an extra 30 seconds.
Step 4: Pour And Re-Mix In A Second Container
This step surprises many first-time installers. After the initial mix, pour the mixed epoxy into a second clean bucket and mix for another 60 to 90 seconds. This ensures any unmixed material from the sides and bottom of the first container gets fully incorporated. Skipping this step leaves streaks of uncured material in the final floor.
Step 5: Work Within Your Pot Life Window
Most metallic epoxy systems have a pot life of 20 to 40 minutes at room temperature. In Sarasota’s summer heat, where garage and interior floor temperatures can climb into the high 80s and beyond, pot life shortens. Plan your batch sizes accordingly and don’t mix more than you can apply while working within that window.
Temperature and Humidity: The Florida Variables
In Southwest Florida, humidity and temperature directly affect how metallic epoxy mixes and cures. High humidity doesn’t usually affect the mix itself, but it matters during application and curing. Moisture vapor rising from a concrete slab that wasn’t properly sealed before application can interrupt adhesion. This is why DecoCrete Services performs a moisture assessment before every metallic epoxy installation, not as extra caution, but as a standard step that the work depends on.
Heat affects pot life more directly. The same batch that gives you a comfortable working window in mild conditions may leave you with significantly less working time when the floor temperature climbs into the mid-80s. This is one of the arguments for scheduling metallic epoxy work in the early morning in Florida—not just for ambient comfort, but for predictable material behavior.
Creating the Metallic Effect After Pouring
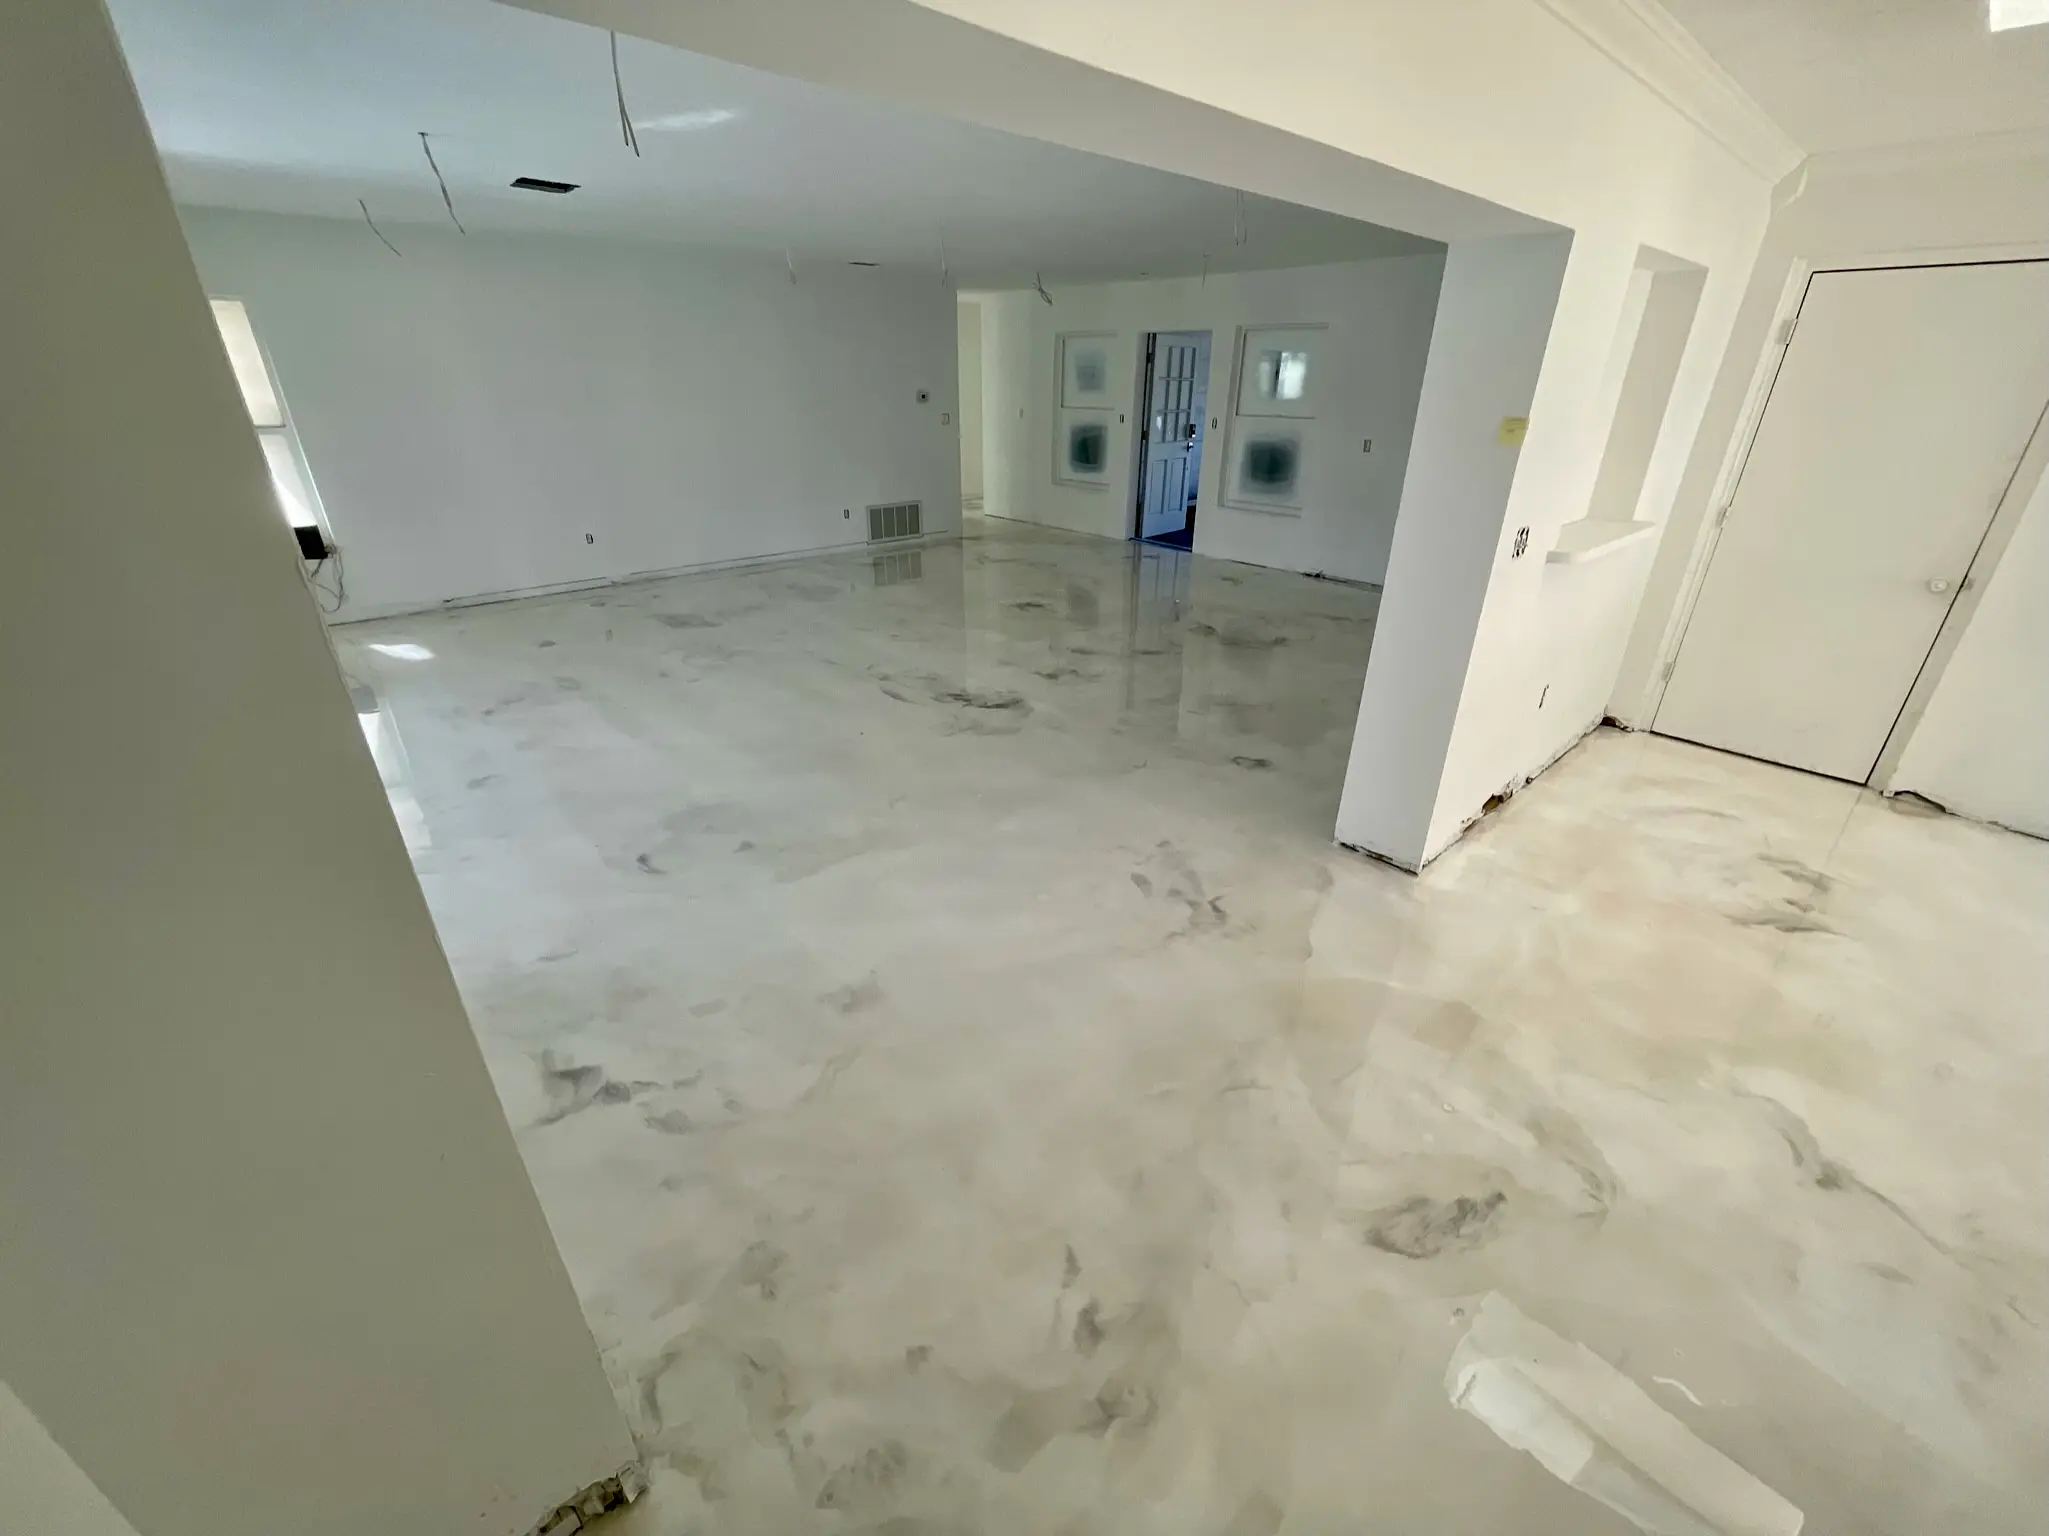
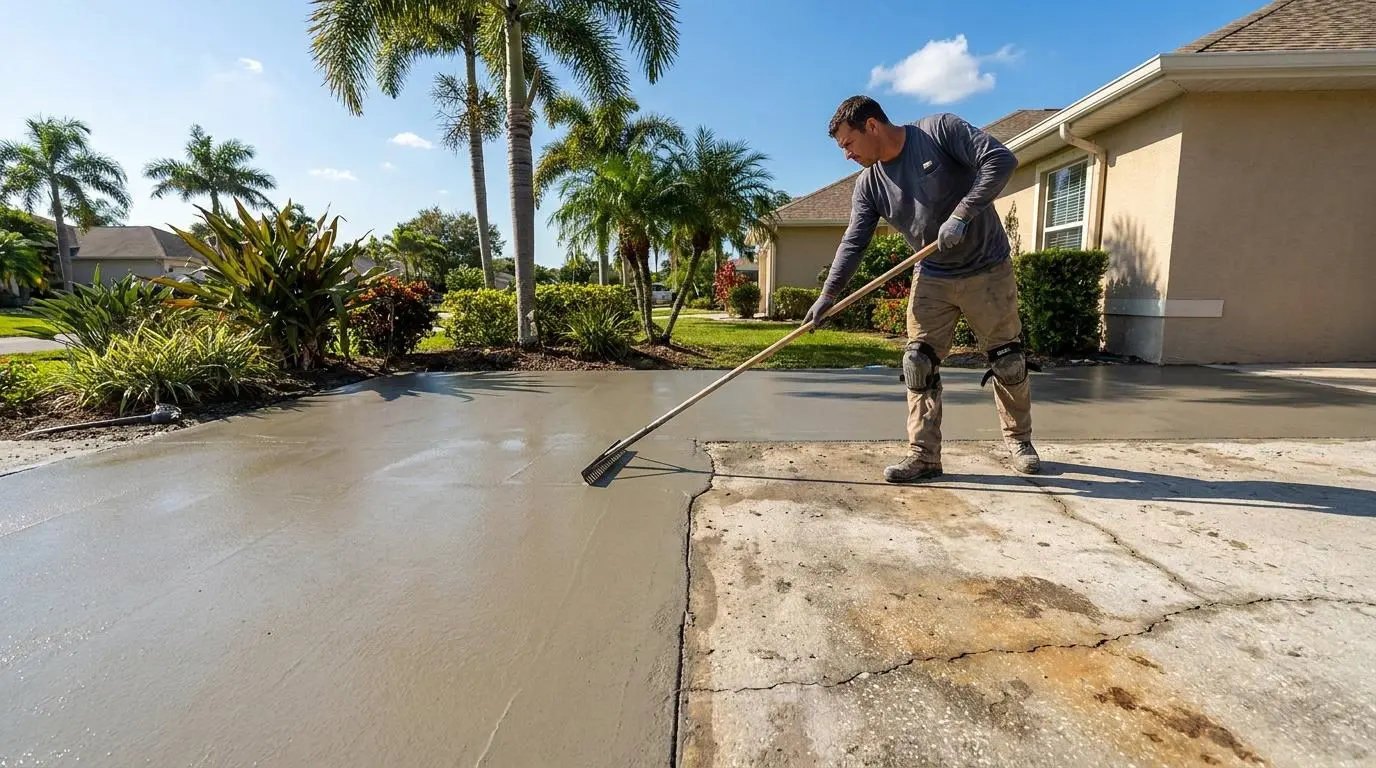
After applying the mixed metallic epoxy to the floor with a gauge rake or notched squeegee, the metallic effect is created by manipulating the wet surface. Use a heat gun or propane torch held 12 to 18 inches above the surface in slow sweeping passes. The heat thins the surface layer, causing the metallic pigments to move, swirl, and create depth. The results are genuinely unique every time. No two metallic floors look exactly alike.
If you’re considering this as a DIY project, the mixing and manipulation steps are learnable. The judgment calls—reading pot life in real time, knowing when the floor is ready for the next pass, managing humidity’s effect on open time—are what separate a floor that holds up for the long haul from one that starts showing issues much sooner than expected.
For Sarasota homeowners weighing professional versus DIY metallic epoxy installation, the honest answer is that the mixing and application window in Florida’s climate leaves less margin for error than the same job in a cooler, drier climate.
Frequently Asked Questions
What mixing ratio is standard for metallic epoxy?
Most professional metallic epoxy systems use a 2:1 ratio of resin to hardener by volume. Some systems use 3:1. The correct ratio is always on the product’s technical data sheet. Using the wrong ratio results in an epoxy that either cures too fast and gets brittle or stays tacky and never fully hardens. Never assume the ratio based on another product’s specification.
How long does mixed metallic epoxy stay workable?
Mixed metallic epoxy typically has a pot life of 20 to 40 minutes, depending on the product and ambient temperature. In Florida’s heat, pot life at the shorter end of that range is more common. DecoCrete Services plans batch sizes to stay comfortably within the pot life window. When temperatures are warmer, mixing a batch that’s too large leads to rushed application and visible lap marks in the finished floor.
Can you mix metallic epoxy by hand without a drill?
Hand mixing isn’t recommended for metallic epoxy. Achieving the thorough, consistent blend that full chemical curing requires takes sustained mechanical mixing: 3 or more minutes of continuous agitation that’s difficult to replicate by hand. Hand mixing typically produces incomplete blends with streaks of uncured hardener that show up as soft spots or discoloration in the cured floor.
Get the Mix Right, Get the Floor Right
Metallic epoxy rewards preparation. The ratio, the mix time, the two-bucket technique, and Florida’s temperature variables are all knowable before you start—and they’re all controllable when you approach them with the right tools and realistic timing.
Contact DecoCrete Services for a free quote on professional metallic epoxy installation in Sarasota and Manatee County. We handle the mix, the application, and the conditions so the result looks exactly like the floor you had in mind.

Devin Martin is the owner and lead specialist at DecoCrete Services, serving the Sarasota and Manatee County areas. With an eye for design and a focus on structural integrity, Devin specializes in transforming plain concrete into high-end, decorative assets. He is dedicated to providing Gulf Coast homeowners with durable, weather-resistant flooring solutions that blend aesthetic appeal with industrial-grade performance.